
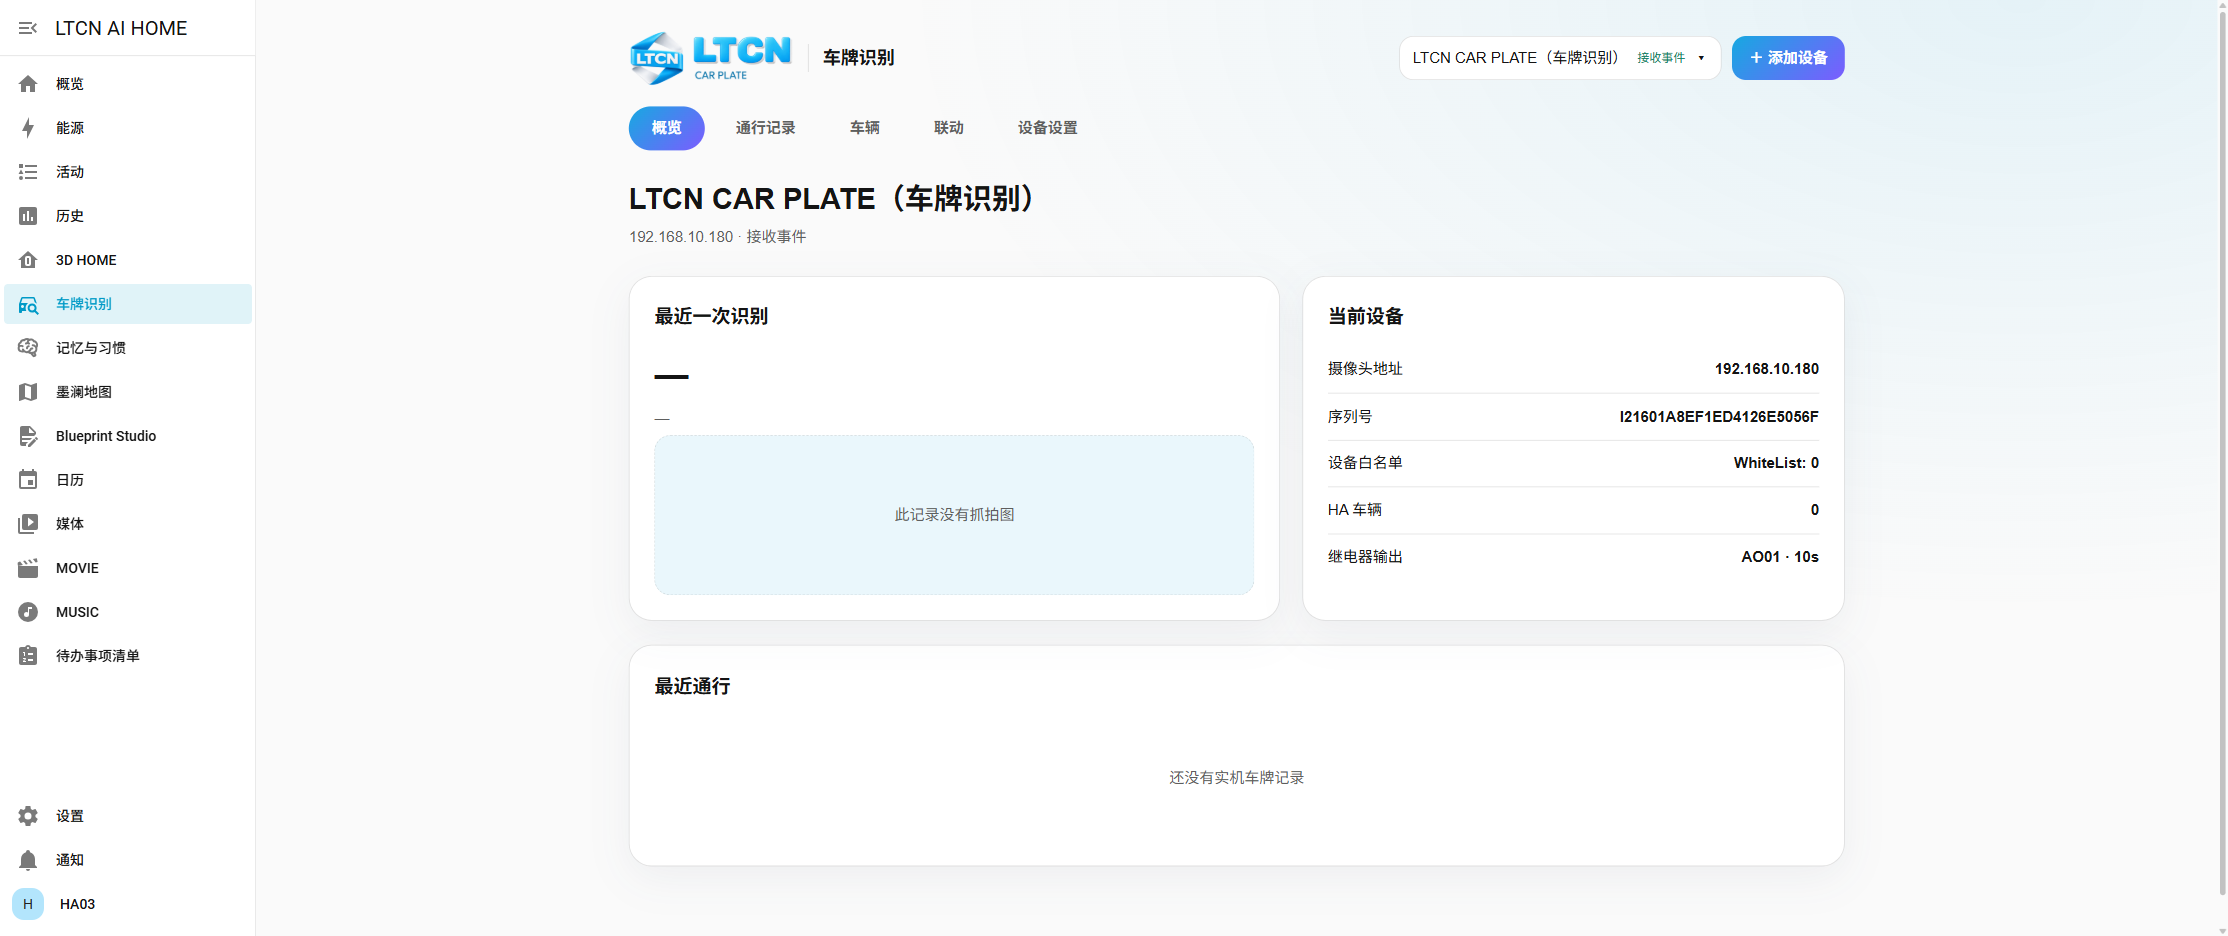
This guide starts with one camera and walks through event delivery, vehicle authorization, scene rules and device settings. Home Assistant ONVIF can continue to handle the video stream; LTCN CAR PLATE handles plate events and access permissions.
Add and switch cameras
Sign in to Home Assistant and open CAR PLATE in the left navigation. Choose Add device, select a discovered plate camera or enter its IP address, name, username and password manually. Saving verifies the device identity and plate-recognition capability. If multicast discovery is unavailable, use manual entry. Each camera has its own vehicles, records and rules; switch cameras with the selector at the top. A serial number already registered will not create a duplicate. To see video, enable ONVIF on the camera and add the separate ONVIF integration under Settings → Devices & services. Check that its camera entity has a stream; H.264 may be needed. ONVIF video alone does not deliver plate events.
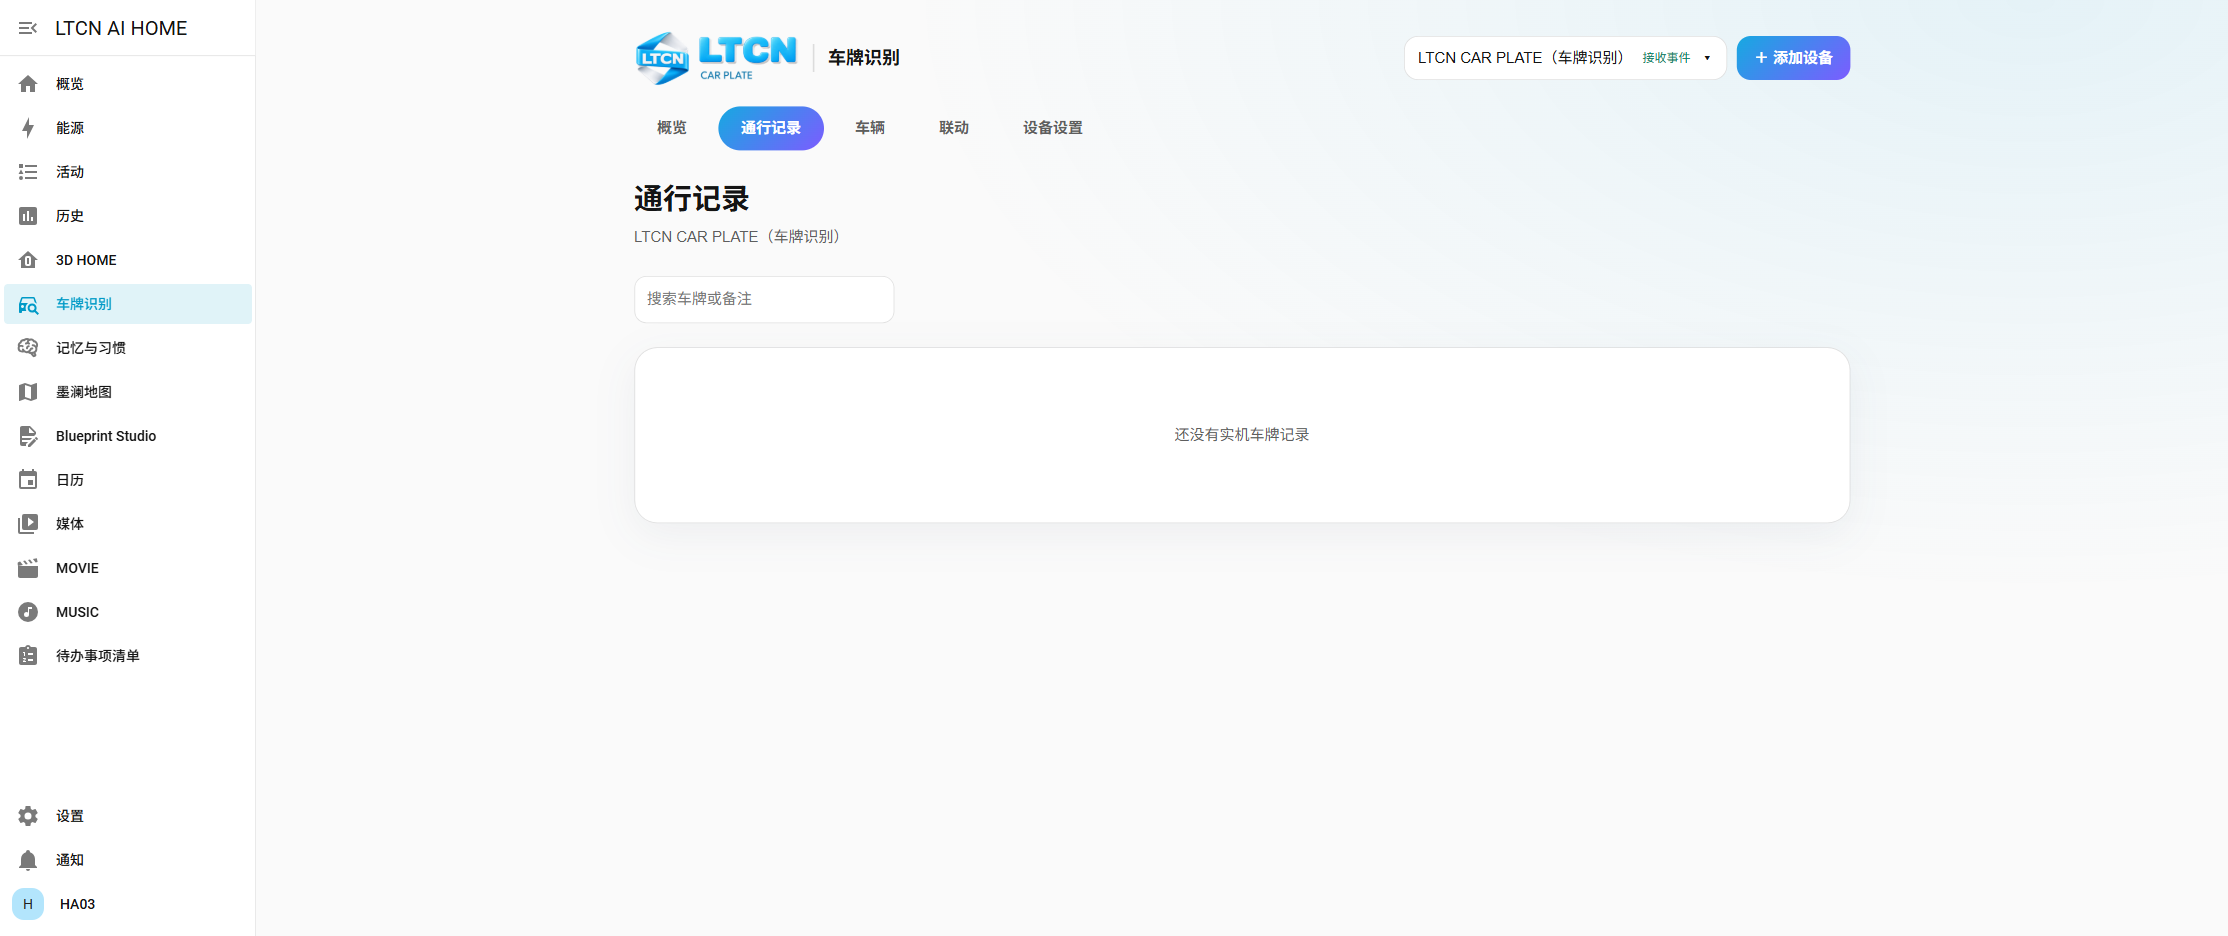
Configure event delivery and view records
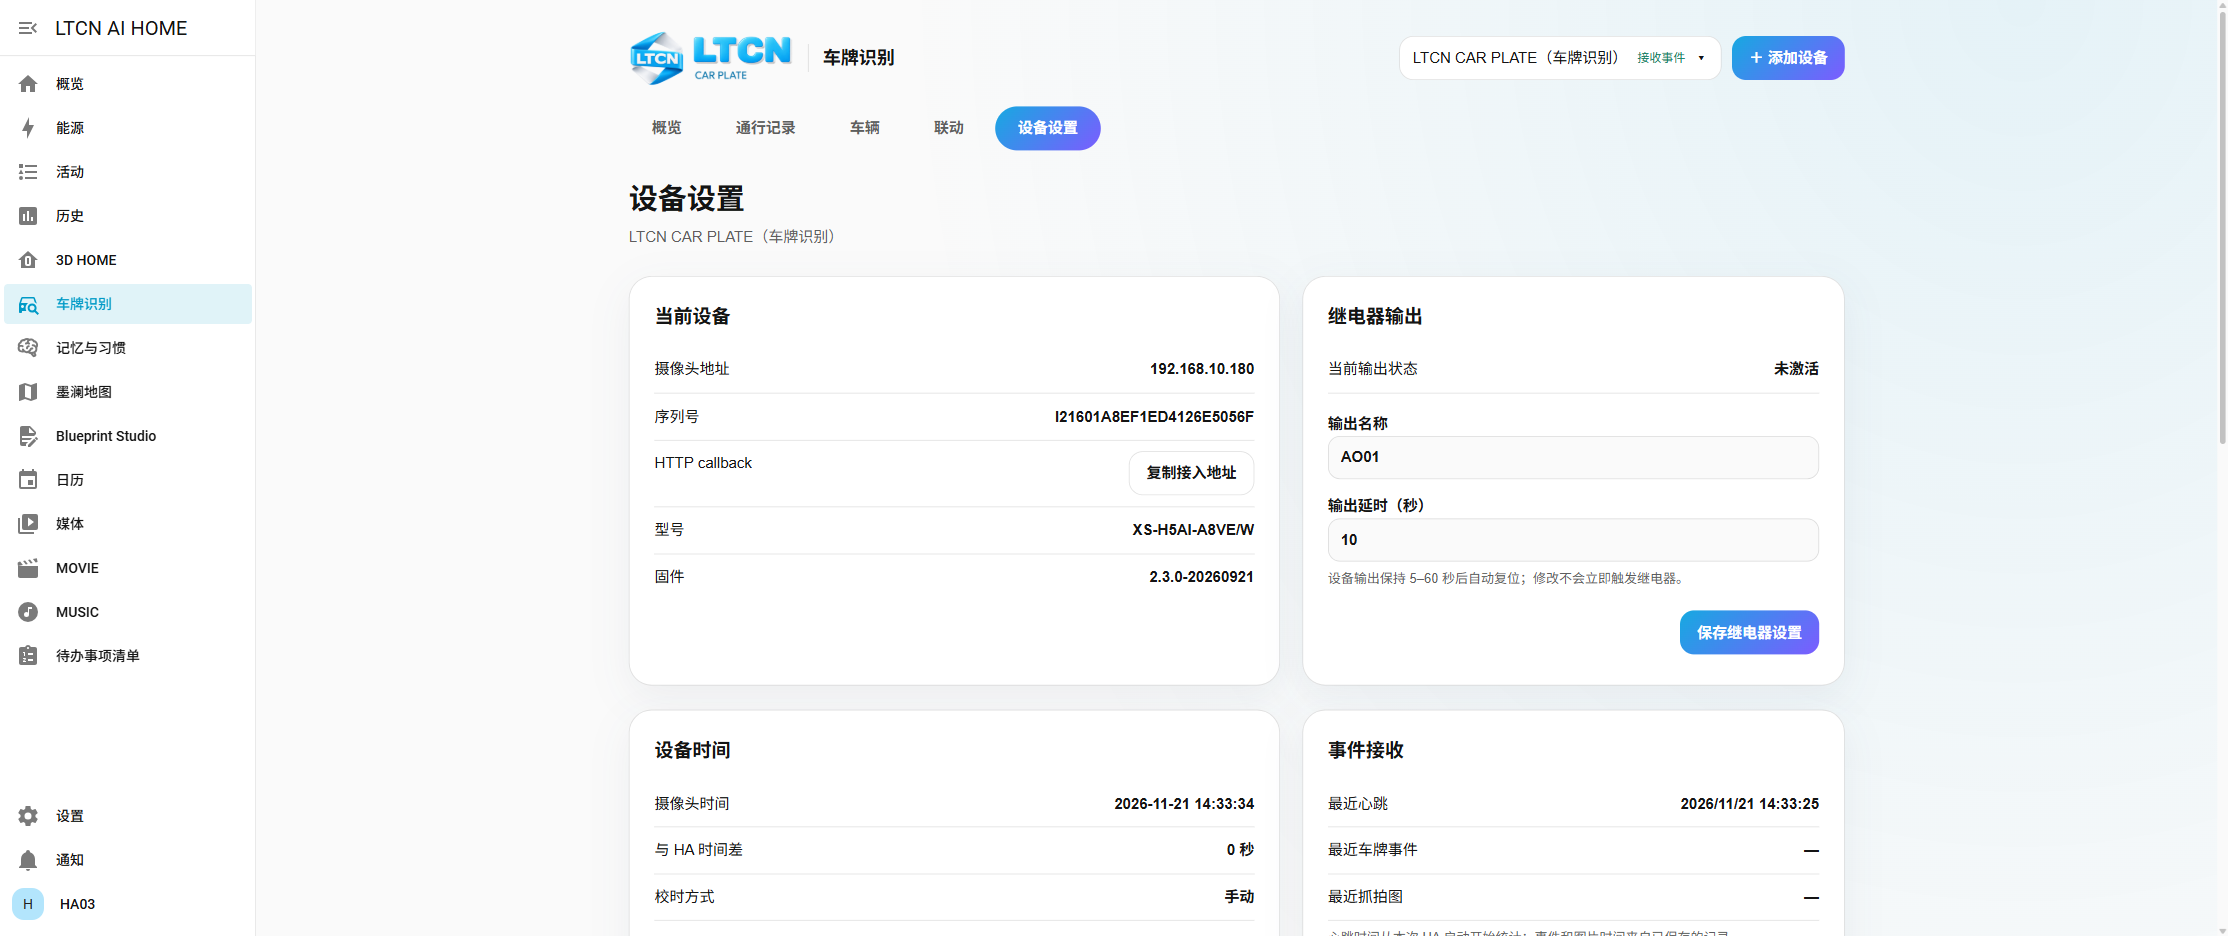
Under Device settings, use Copy access URL for the current camera. In the camera’s HTTP platform settings, enter that URL as the event reporting address, use Home Assistant port 8123 and set the camera form’s platform authentication to None. The URL already carries a device-specific token; do not publish it. LTCN CAR PLATE still checks the token and device serial number. Return to Device settings to check the last heartbeat. After a real vehicle passes and an event arrives, search Passage records and open the record to see direction and any snapshot supplied by the camera. An empty list is expected before real events.
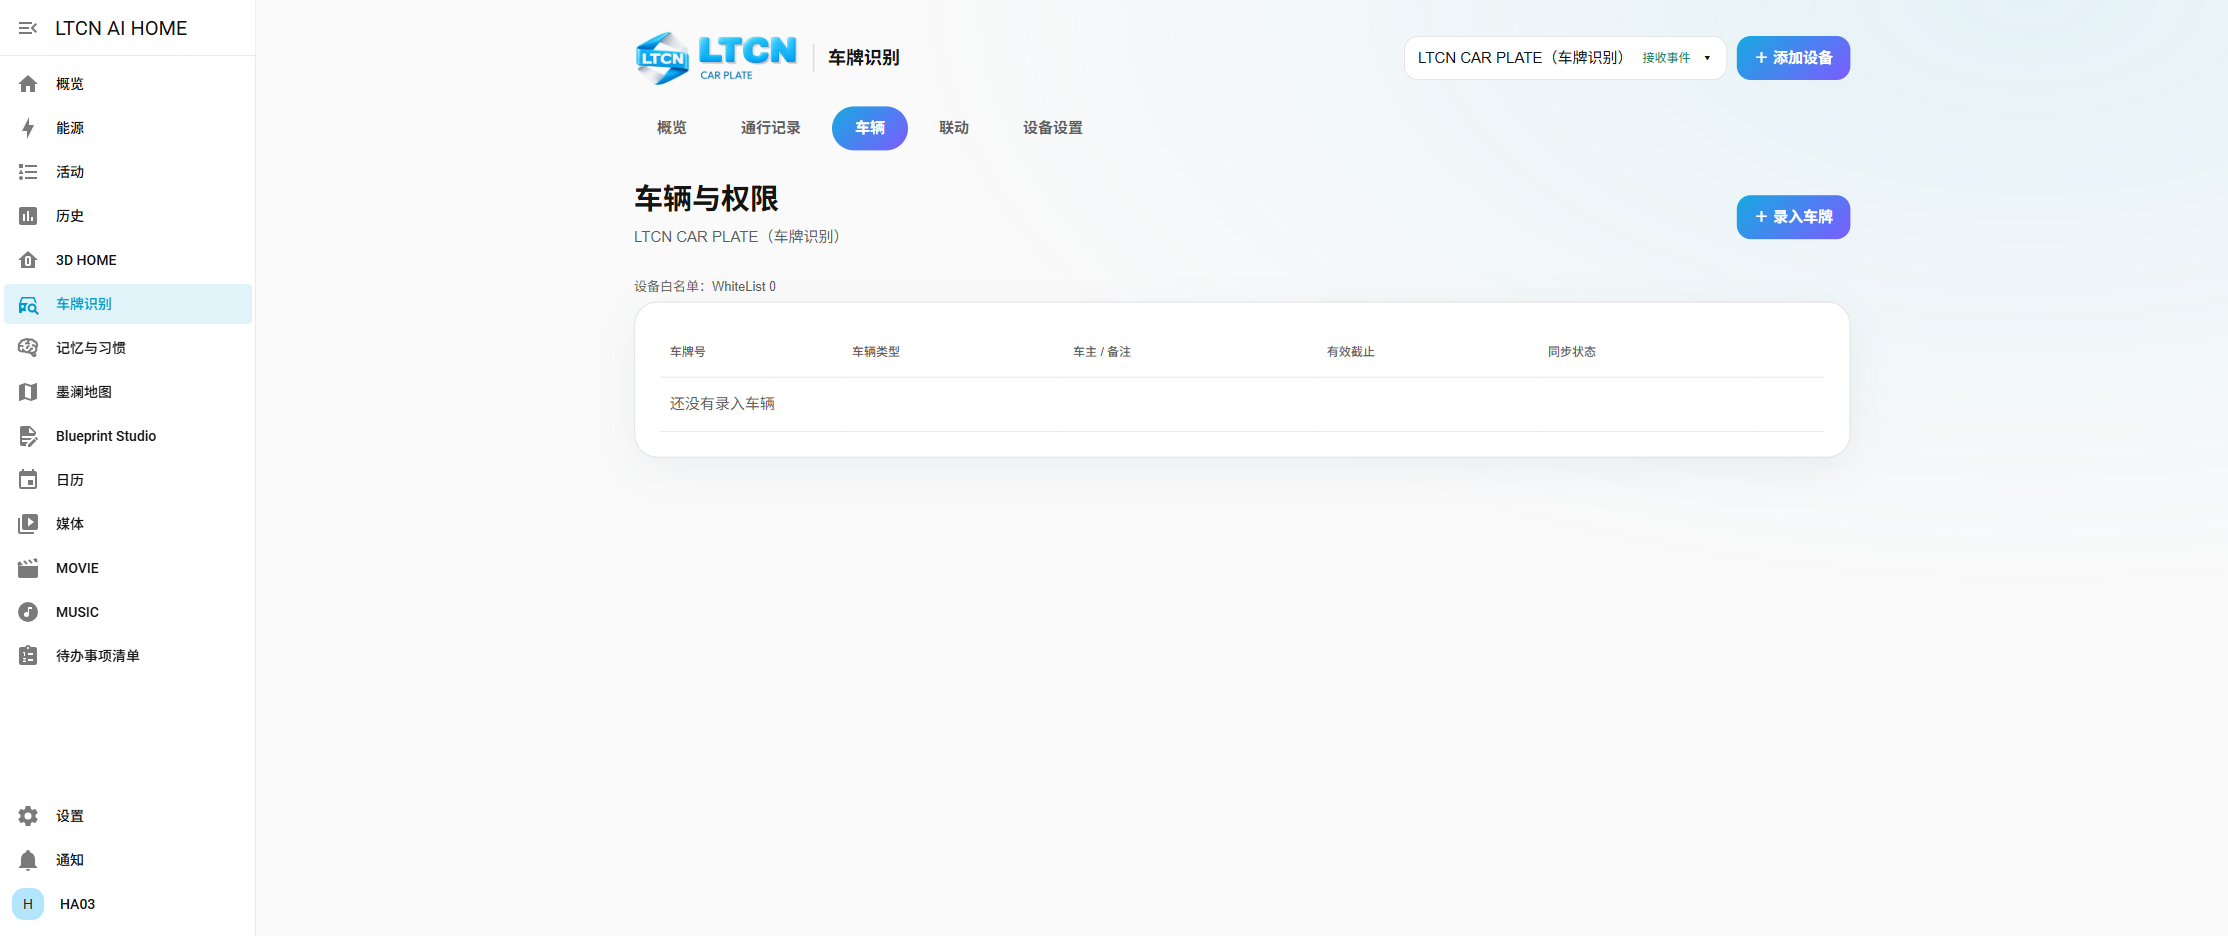
Register resident or visitor vehicles
On the Vehicles tab, select Register plate and enter the plate number, vehicle type, owner or note. A visitor may have an expiration time. Saving sends the plate to the selected camera’s whitelist and shows its synchronization status. Wait for Synced before relying on access. If synchronization fails, inspect the vehicle and retry. Expired visitor access is withdrawn; deleting a vehicle also removes its matching camera whitelist entry. Authorization on one camera does not automatically authorize another.
Run a scene for a specific plate
Create the desired scene in Home Assistant first. Then choose Automation → Create rule, enter a name and exact plate number, and select the scene. The rule matches only that plate reported by the currently selected camera. You can enable or disable the rule here and manage it further in HA automations. For example, a family member’s plate can turn on the driveway lights. Scene execution and opening the gate relay are separate settings.
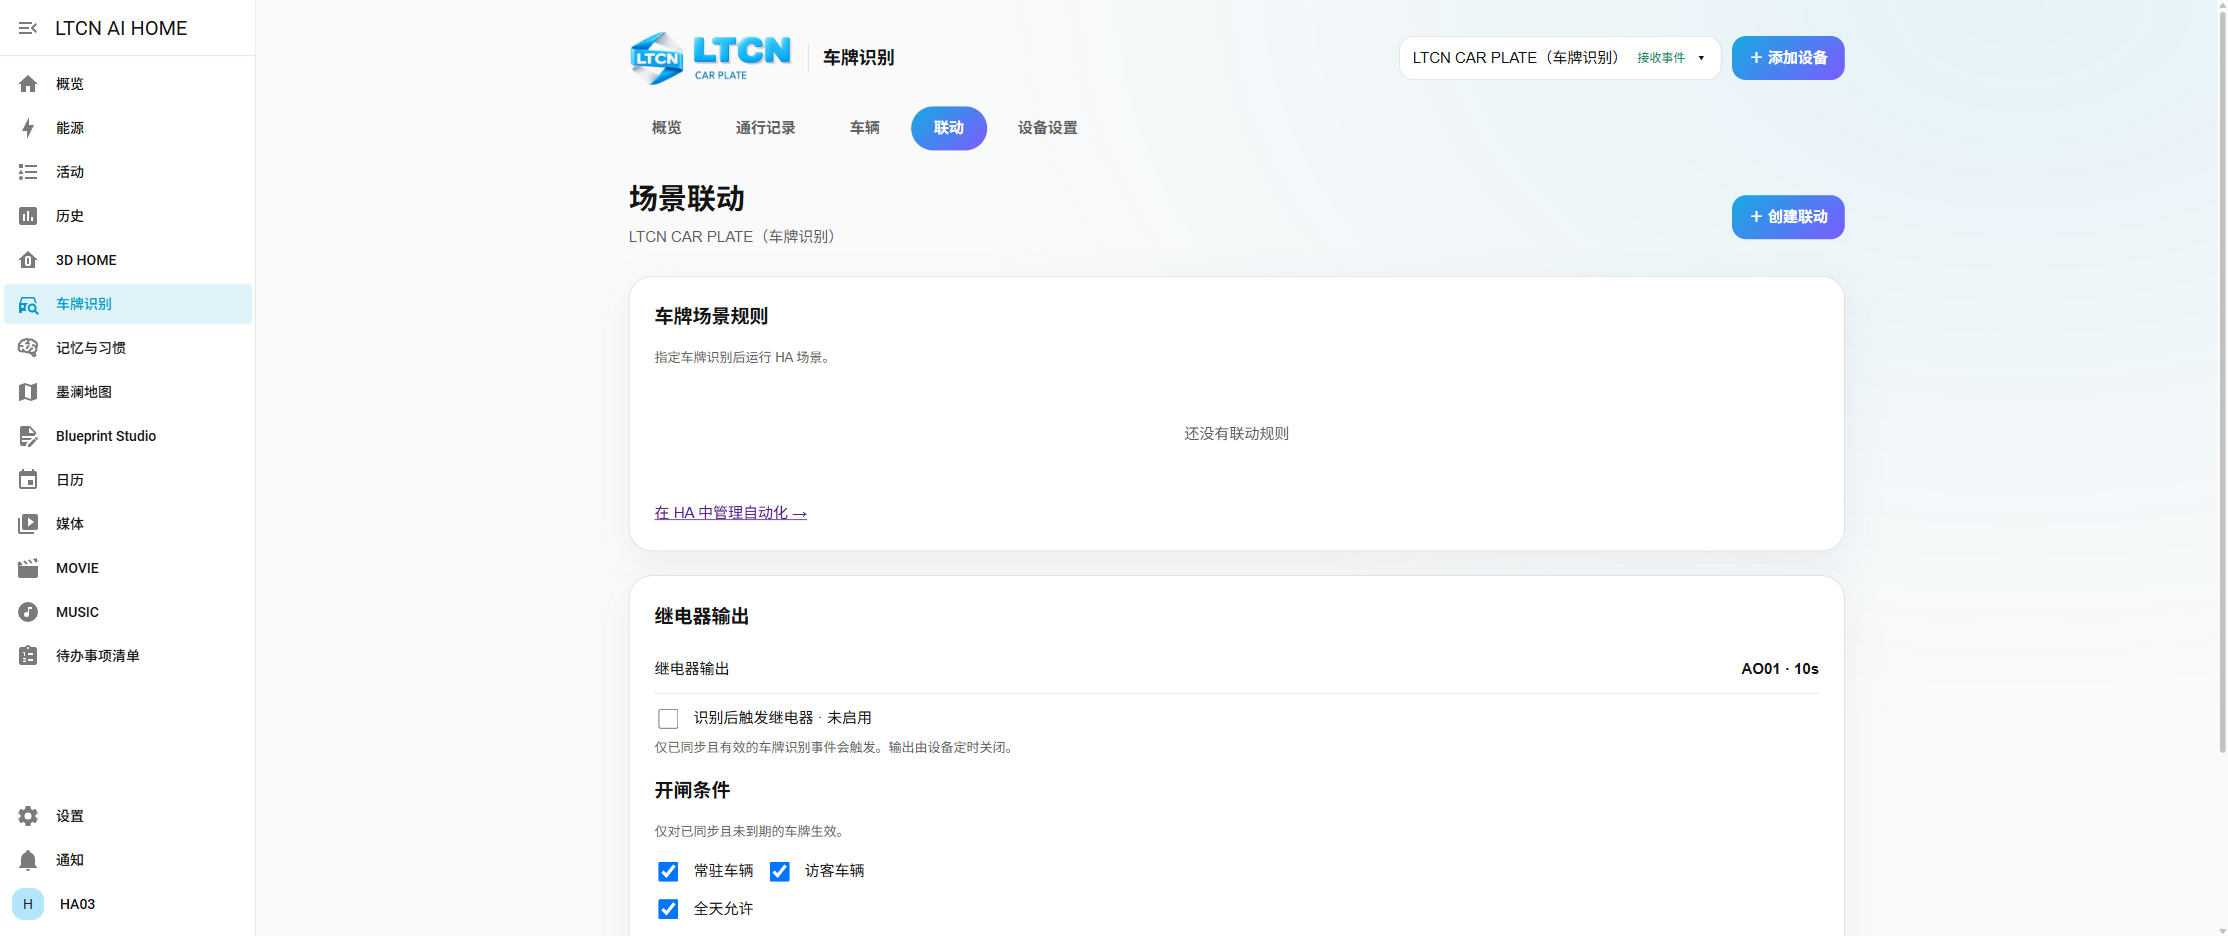
Set gate relay conditions
On Automation, choose which resident or visitor vehicles may open the gate, permitted weekdays and time windows. Only a locally registered plate that is synchronized, unexpired and meets the conditions can trigger the relay. Confirm the physical wiring and gate behavior before enabling Trigger relay after recognition; it is off by default. The camera resets its output after the configured delay, and repeated detections close together are limited. In Device settings you can set the output name and a 5–60 second delay; saving a parameter never activates the relay. The test camera has not yet passed a real-vehicle gate acceptance test, so observe the first live activation on site.
Check time, whitelist and snapshots
Device settings shows model, firmware, relay status, camera time, heartbeat and last plate event. In manual time mode, use Sync with HA time. Whitelist reconciliation compares valid HA plates with the camera and Add missing HA plates to device adds only missing entries; it does not delete camera-only plates. Snapshot settings include entry or exit direction, best or fast capture, background-image delivery, repeat delivery and a 30–300 second interval. Repeat delivery can run a matching HA scene again.
Common questions
The camera is not found
Check that HA can communicate with it on the local network. If multicast discovery is blocked, use Add device manually with the camera IP and credentials. Plate-recognition capability is still verified.
ONVIF video works but there are no plate records
Video and plate events use separate paths. Configure the camera HTTP platform with the device access URL, check its heartbeat, then wait for a real plate event.
A saved vehicle cannot pass
Check that its status is Synced and the visitor has not expired. Check camera plate rules, direction and gate wiring. The relay also requires separate enablement and matching vehicle and time conditions.
There is no snapshot in a record
A record shows an image only when the camera includes one in the plate event. Check background-image delivery; a live snapshot is not added retrospectively to records.
Why does the camera whitelist contain unknown plates?
They may have been added directly on the camera. Reconciliation displays these camera-only entries and does not delete them.